How to create a GitHub profile README.
A GitHub profile README introduces your work before someone opens a repository. Keep it useful: explain what you build, show the technologies you use and make it easy to find your best work.
Create a README for free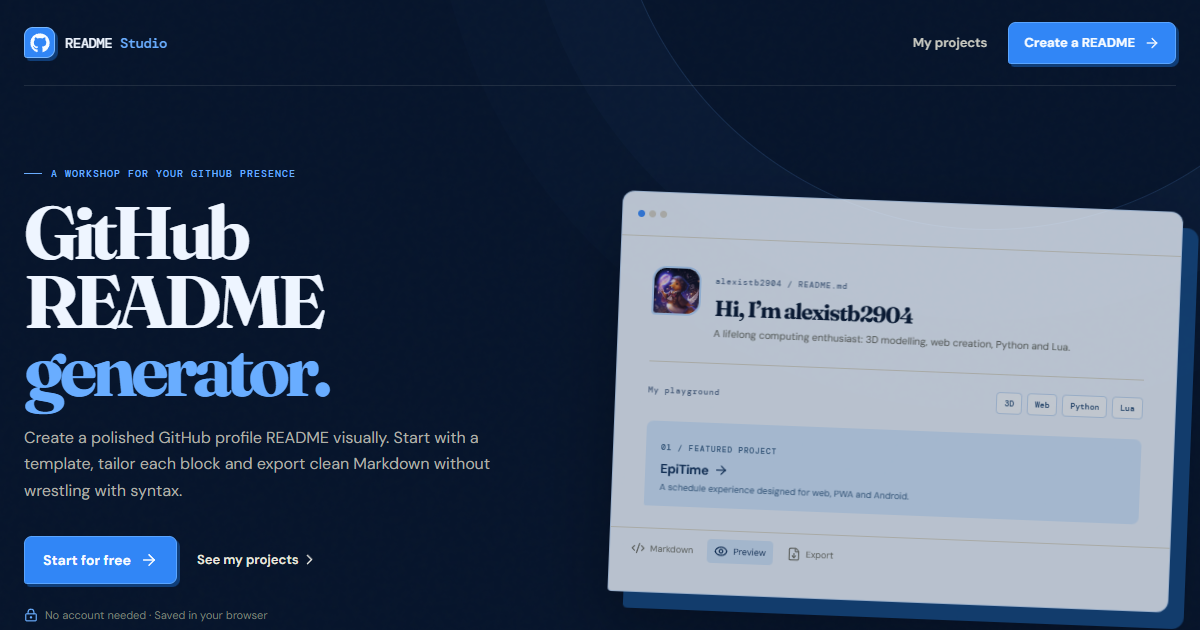
Publish a profile README in three steps.
Create the matching repository
On GitHub, create a public repository with exactly the same name as your GitHub username. Its README.md is displayed at the top of your profile.
Write for a real visitor
Start with a short introduction, then add your focus, selected projects, technology stack and practical links. Prefer clear information over a wall of badges.
Preview and publish
Check the rendered Markdown, copy the final README.md into the matching repository and commit it. Review it whenever your work changes.
GitHub profile README FAQ
What should I include in my GitHub profile README?
Include a concise introduction, your focus or current work, selected projects, technologies you use and the best ways to reach you. Only add dynamic cards or badges that help a visitor understand your work.
Do I need a generator to create a profile README?
No. A generator is useful when you want to arrange common sections visually and preview the Markdown before publishing. You can always edit the exported README.md directly in GitHub.
Can a profile README help people discover my work?
It gives every visitor to your GitHub profile a clear introduction and direct links to your best work. Keep its claims current and link to public repositories, demos or a portfolio where appropriate.